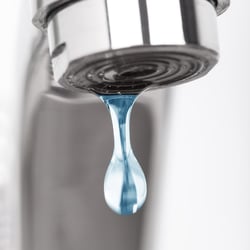
Make short work of a dripping faucet. Minor repairs are often serious frustrations to first-time home owners who have never been responsible for home maintenance. A dripping faucet doesn't need to be one of them! In five simple steps, you can eliminate that nagging drip and move on to more important things in your life. You will need an adjustable wrench, Phillips and flat-head screwdrivers, penetrating oil and replacement washers and O-rings.
How to fix a leaky faucet:
- Turn off the water under the sink to avoid a geyser in your kitchen or bathroom. That's only funny in the movies.
- Remove decorative elements and handles. You can pop caps off easily with the flat-head screwdriver. Line the jaws of the wrench with a strip of duct tape to prevent scratching soft brass or chrome. Use penetrating oil to loosen any stubborn pieces.
- Loosen the packing nut with the wrench and remove the stem. It may pop off or twist off. Inspect all parts for stripped threads or other damage.
- Replace the O-ring and washer located in the valve seat if they show signs of wear. Make sure the replacement is the correct shape and size. They could be cone shaped or flat, and a proper fit is vital. You can either take the old one to the hardware store to check or purchase a package with multiple sizes.
- Carefully re-assemble all of the parts, turn on the water under the sink and slowly turn the faucet handle. Hopefully, the faucet is no longer leaking.
If you find that you have not resolved the problem, the issue may be a corroded valve seat, worn seals or broken plumbing. You may need to contact a licensed plumber for assistance or consider replacing the bathroom faucet.
Now that you know how to fix a leaky faucet, you can turn to the experts for more complex situations. If instead of a leaky faucet you are concerned about a leaking roof, don't put off a critical roof inspection. Contact the experts at First Quality Roofing and Insulation to handle it for you.


