


If your roof gets damaged, you will typically need to get it replaced as soon as possible. If you’re in need of an emergency roof replacement, the following is a step-by-step guide covering how your old roof will be removed and a new one installed:
6 Steps to a Roof Replacement
- Removal of the Old Roofing Materials
During a roof replacement, the first step taken is removal of the old roof. In most cases, one damaged portion of the roof may still warrant removal of the entire section. This is the best way to ensure that your new roof performs optimally. The old roof will be stripped away until the sheathing is exposed.
- Laying the Roof Sheathing
The roof sheathing is the underlying layer of your roof. It consists of a series of flat panels that support the weight of overlying roof materials. Therefore, your new roof installation will begin by preparing and laying a new sheathing. The sheathing should be free of any cracks, dents and other damages that may affect the performance of your new roof. Once the sheathing is determined to be in good condition, it will be put firmly in place.
- Waterproofing
Without a waterproof layer, your new roof may leak water into your home if it rains. To prevent this, a waterproof layer will be installed on top of the sheathing. The waterproofing is a sticky material that attaches to your actual roof sheathing. It repels water by creating an insulated layer that seals the sheathing from water accumulation and damage. Any incoming water runs off the surface and drains across the edges.
- Putting the Drip Edge in Place
Speaking of edges, the next step is the installation of a drip edge. A drip edge prevents water from running over the edges of your roof and into the underlying layers. It seals off the edges of your roof by redirecting water away from your sheathing.
- Installing the Underlayment
After proper waterproofing is complete, roof installers will proceed to lay the underlayment. This is the layer that directly supports your upper roofing materials. In fact, the underlayment is the first layer exposed if your top layer becomes damaged. You need a sturdy and durable underlayment to enjoy the longevity of your new roof. Most underlayment is made of a tough, synthetic layer that is capable of withstanding harsh outdoor environments.
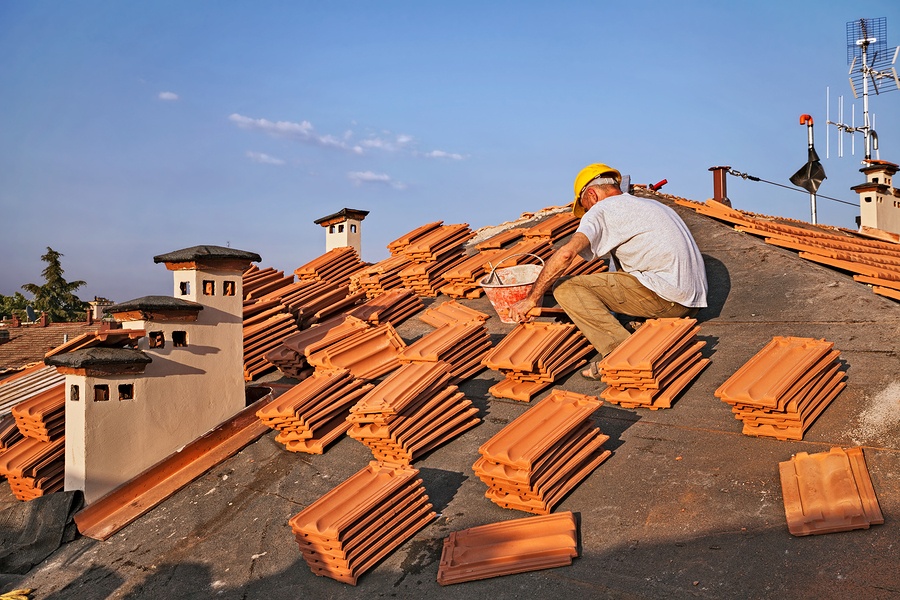
- Putting the New Shingles in Place
After all underlying layers are firmly in place; the top layer can now be installed. The specific process will vary according to your type of roof. Asphalt shingles, tile or metal roofing will be installed to provide protection and aesthetic appeal.
Contact Us for a Roof Replacement
Don’t let just anyone handle your roof replacement. Contact the experts at First Quality Roofing & Insulation. Call 702-262-7847 today!