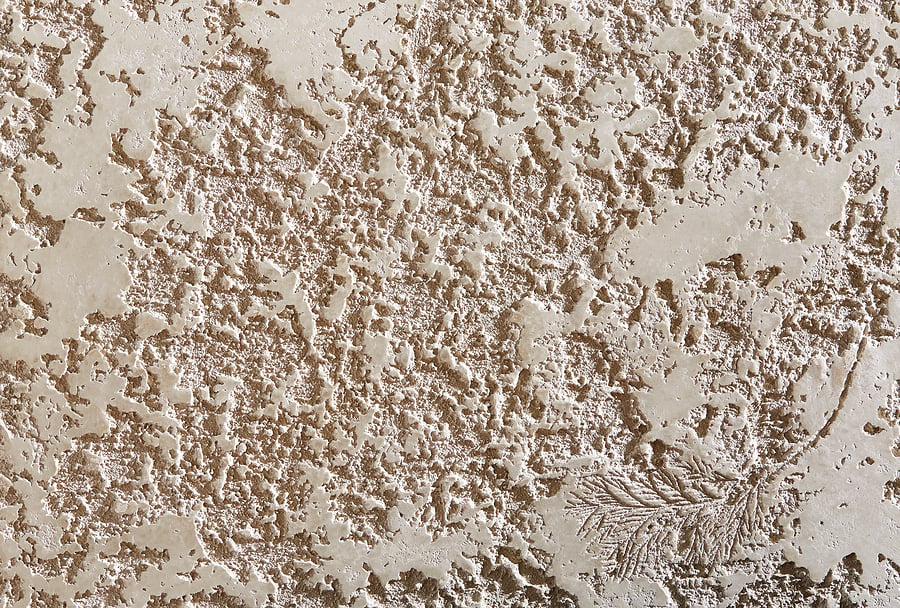
Does the outside of your home need a facelift? Repainting the exterior is one of the best ways to give it a fresh, new look. When painting stucco, however, there are a few specific factors to take into account.
Keep These Things in Mind Before Painting Your Home’s Stucco Exterior
Items You’ll Need
As with all home improvement projects, having the right tools and equipment makes everything easier. Set yourself up for success by gathering the following items before you get started:
- Push broom or pressure washer
- Caulking suitable for masonry work
- Stucco repair kit (if necessary)
- Putty knife
- Painter’s tape
- Masonry primer and paint
- Roller grid
- Large-nap paint roller
- Extendable roller cage
- 5-gallon bucket
- Paintbrush
If your stucco has a very deep texture, you may also need a spray-painting rig.
Preparing Your Home
Before you start painting, you’ll need to prepare your home’s exterior. First, remove any dust and dirt that has built up on the surface. In most cases, simply brushing the stucco with a stiff push broom is enough. If it’s very dirty or the crevices are deep, you might also need a pressure washer.
Fill any hairline cracks with a masonry-compatible caulking. If you notice larger cracks, you’ll need to remove any embedded dirt, then use a stucco repair kit to fill them in. Check the packaging to see how long your repairs will need to cure before you can paint over them. Typically, it’s recommended to hold off for seven to ten days.
Finally, use painters’ tape to seal off the edges of your windows and doors. This will make clean-up quick and easy, as well as ensure you do not get paint where you don’t want it.
Applying the Paint
Once you’re ready to paint, begin by applying a coat of masonry primer. Use a brush to apply it around the edges, then roll it in the center with your thick-nap roller. For best results, use a plastic roller grid inside your 5-gallon bucket to remove the excess paint. Cover the entire stucco surface with primer and then let it dry according to the directions.
Repeat the process with your stucco paint. Start with a light coat and then add two or more light coats until you achieve your desired color. Always remember that a few light coats are better than one heavy coat, which can look patchy and messy.
When the paint has dried thoroughly, use a straightedge and sharp utility knife to cut around the edges of the painter’s tape before removing it. This will make removal easier and prevent you from accidentally pulling off some of the new paint in the process.
If you found these tips useful, comment below to let us know your thoughts. For more advice on DIY home maintenance projects, check out these articles:


