


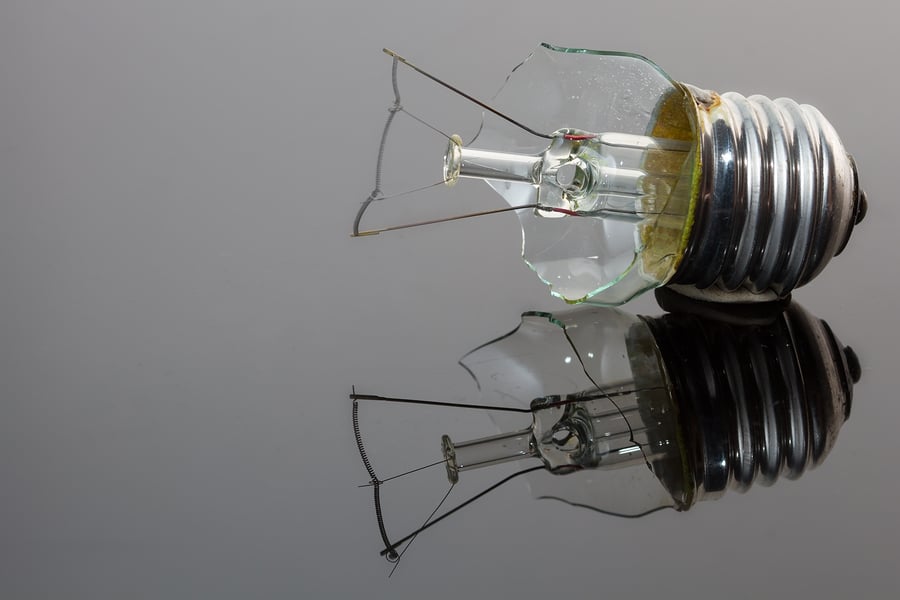
Who hasn’t accidentally broken a lightbulb while trying to remove it from the socket? Next time you replace a broken or burned-out bulb, here are some simple, effective tools you can use to safely remove the base that’s stuck inside the socket:
Safety First
Before you attempt to remove a broken lightbulb from its socket, you must always be sure to take the necessary safety precautions. It is possible to receive a painful shock from any electrical source, even if you’ve turned off the switch. Locate the breaker that powers the room you are working in and flip it off to safely cut power to the light source. It’s also wise to wear protective gloves and eyewear while completing this project, and use a small plastic bag to safely contain any shards or splinters of glass you remove.
Ways to Remove a Broken Lightbulb
- Pliers
One of the swiftest ways you can replace a broken lightbulb is by removing it with a pair of needle nose pliers. If there is still filament attached, grip its base with the pliers and gently twist them in a counter-clockwise motion. If the filament is broken, place your pliers down into the base socket and open them as wide as you can. By turning the pliers in a counter-clockwise motion, the bulb’s base should unscrew easily.
- Fast-setting Epoxy
By using fast-setting epoxy and a screwdriver, you can quickly unscrew the broken bulb from the socket. This method is ideal for sockets that may be in areas that are hard to reach or small spaces where your pliers won’t fit. First, mix the epoxy and pack it into the base of the bulb. Press your screwdriver into the epoxy, making sure to make a good impression in the putty. After the epoxy has dried, used the screwdriver to easily unscrew the bulb’s base from the socket.
- Broken Bulb Extractor
Sometimes the most obvious option is the easiest. Broken bulb extractors are available at most hardware and department stores for a few dollars. Simply insert the broken bulb extractor into the bulb’s base, expand the extractor’s tip and turn it in a counter-clockwise motion.
- Potato
Believe it or not, an uncooked potato is an effective tool for removing a broken lightbulb. Thin one end of the spud down so that it fits inside the bulb’s base snuggly, making sure the tip can fit over the filament support. Push the potato into the base so that it is firmly over the filament support and turn it counter-clockwise to remove the bulb.
By using any of these tools, you’ll be able to safely and easily remove a broken lightbulb from its socket. For more home maintenance tips, give these blog posts a read:
- Tips to Knock Out Your Home Maintenance To-Do's in a Flash
- The Advantages of Air Sealing and Home Insulation
- Important Gutter Cleaning Products No Homeowner Should Go Without